Introduction
BloxOne’s Import and Export is a new tool that securely imports or exports BloxOne Data, and adds the ability to simplify various processes like making backups of assets, or creating new IP Spaces. Instead of manually configuring one, or many objects, this tool allows you to import them via a CSV or JSON file. Furthermore, you can export your BloxOne data. This allows you to do various things, like take the configuration of one BloxOne account, and apply it to a new one! These files are also easily modified, meaning you can alter them in a text editor to add, change, or delete objects.
Currently, BloxOne’s Import and Export supports a wide variety of BloxOne objects:
- DNS, DHCP, and IPAM objects
- On-Premise Hosts
- Tags
This Blog post will show you how easy it is to import and export your BloxOne data.
Prerequisites
- Access to a BloxOne Account via the Infoblox Cloud Services Portal (CSP)
How to Export BloxOne Objects
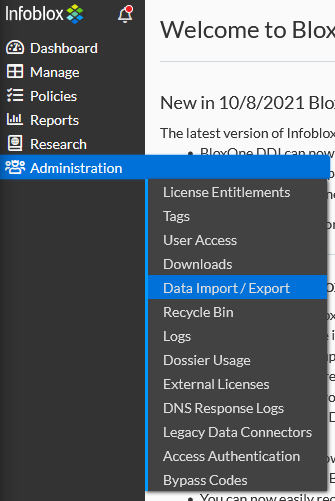
Log into the Infoblox CSP at csp.infoblox.com. Once logged into your account, highlight Administration in the left navigation panel and click on Data Import / Export on the list that is revealed.
Here we can see the Import and Export interface. To export data, click the Export tab at the top of the page.
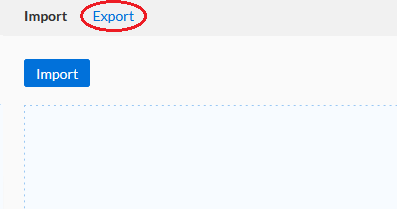
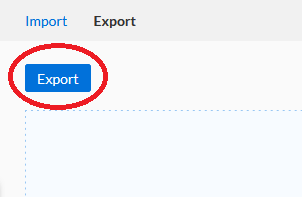
Then, click the Export button to start the Data Export procedure.
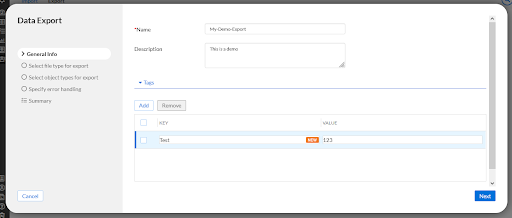
Input the name of the export file. If desired you may also add a description, and tags here. Then click Next.
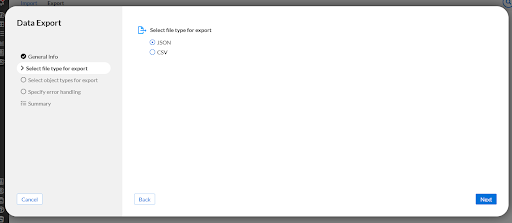
On the next step, select the format of the Export file in either JSON or CSV. Then click Next.
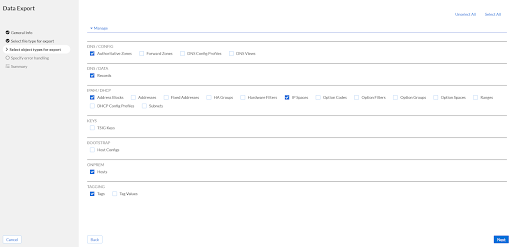
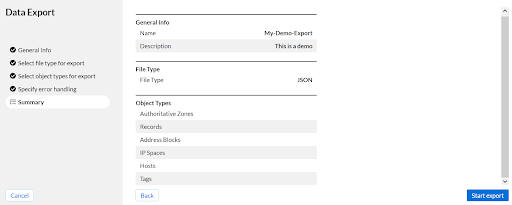
Now select the types of data you’d like to export. In the example screenshot, I picked a few different types of assets: Authoritative Zones, DNS Records, Address Blocks, IP Spaces, On-Prem Hosts, and Tags. Note that a single export cannot exceed more than 35,000 objects, so if you think you may have exceeded this threshold, reduce the amount of object type selections you’ve made.
Click Next once you’ve selected the assets you want to export.
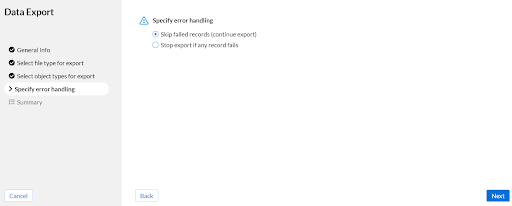
On the next page, select what happens if any errors occur during the export. Then click Next.
On the Summary page, verify that the Export file has the correct parameters. If everything looks good, click Start export.
After the confirmation, the data export will begin processing. Export active means that the data is actively being exported.

After a few minutes, refresh the page to check the status of the data export. When the export is complete, you will see the text Export complete, and a Download button. Click Download to start a download of the exported data.
![]()
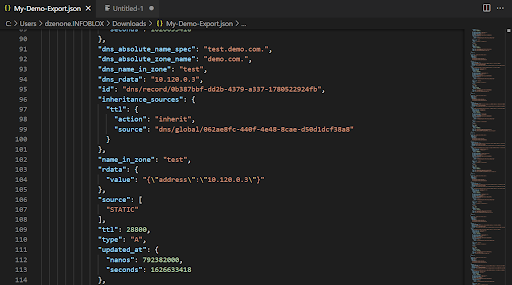
Inside this export file, we can do some pretty neat things. For example, if we want to add another IP space based on one of our existing IP Spaces, or if we’d like to delete some objects entirely, we can do that. However, I won’t cover that here.
How to Import BloxOne Objects
To import files, the process is just as simple as the export. On the Data Import / Export section of the Infoblox CSP, click the Import tab.
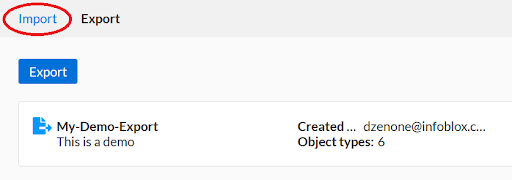
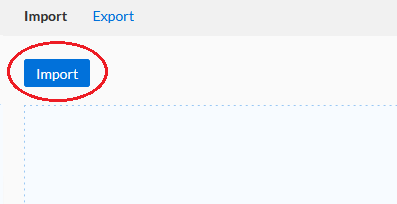
Then, click the Import button to start an import.
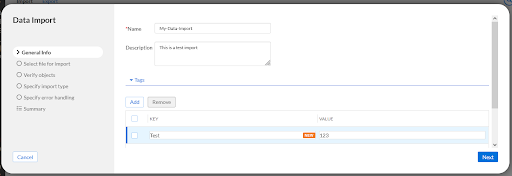
Similar to a data export we need to give the Import a Name. Just like with the export, you can also assign a Description and add Tags. After all that, click Next.
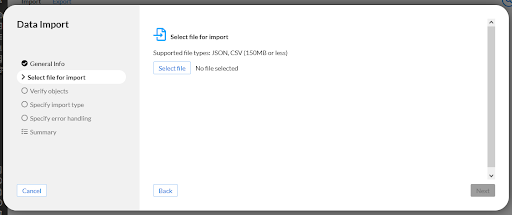
On the next page, select the file to upload by clicking Select file, and locating the file you’d like to upload. If desired, you can use a custom file, or a file you just exported.
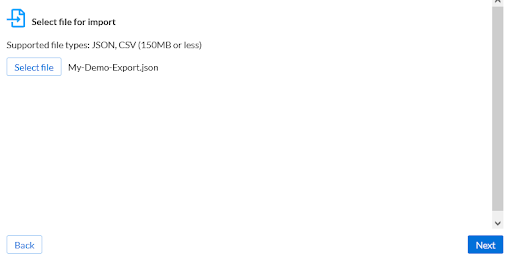
Once you have the correct file selected, click Next.
On the next page, select which resources you’d like to import from the file. Then click Next.
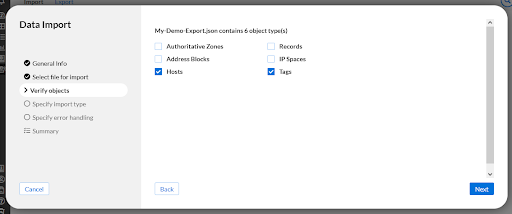
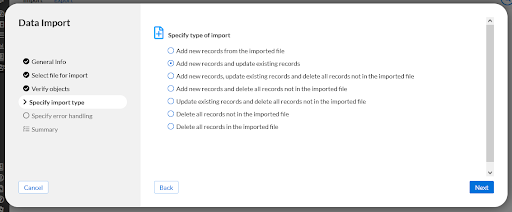
Now specify the type of import you’d like to do. This page allows you to change the way the import is handled. For example, you can only add new records from the file, or you can delete all records that don’t exist in the import. After you make your selection, click Next.
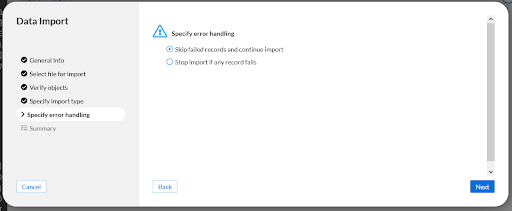
Select how errors will be handled and click Next.
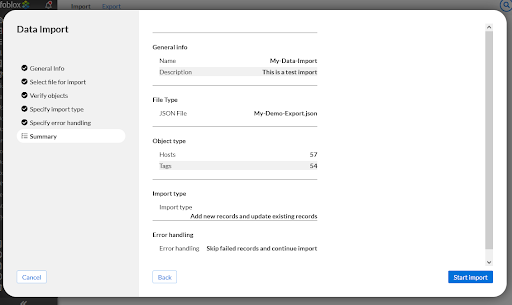
On the Summary page, verify that everything looks correct, then click Start import to start the import process.
The import will start showing Import in progress next to your newly created data import.

After a few minutes, refresh the page. If the import was successful, you will see the text Import complete.

If desired, verify the import by locating some of the related objects that were imported.
Summary
Thanks to BloxOne’s import and export tool you can easily simplify a variety of administrative processes. Whether you’re backing up your BloxOne configuration, or deploying a large quantity of new assets, this feature can save you a large quantity of time! This is just another way that Infoblox is transforming BloxOne into a convenient, easy to use platform.


