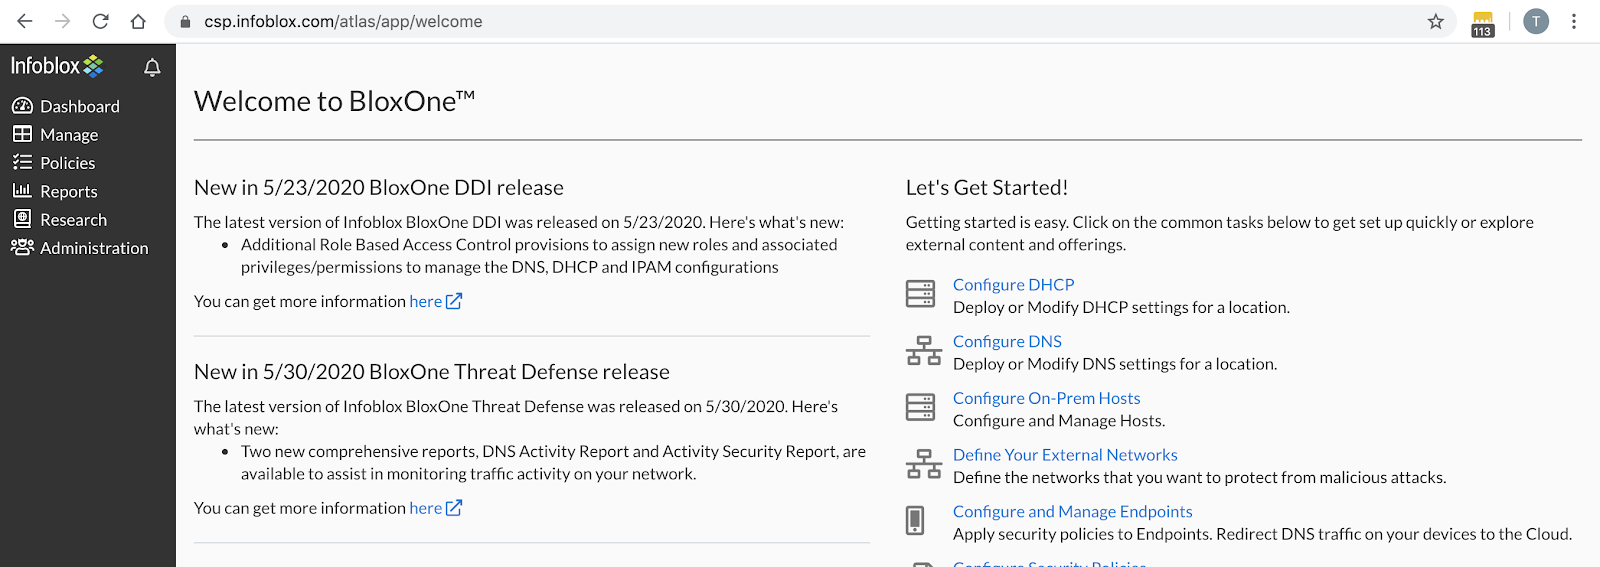
You are planning on using Netskope client to protect your users when accessing cloud resources. What about the resources that Netskope does not protect? This is where BloxOneTM Threat Defense Endpoint comes into play.
The BloxOneTM Threat Defense (B1TD) Endpoint is a lightweight mobile agent that redirects DNS traffic from your remote devices to the BloxOneTM Threat Defense Cloud. It allows you to apply applicable security policies to your roaming end users in remote sites and branch offices. Any DNS resolution that does not point to Netskope controlled resources would be handled by the B1TD endpoint.
The use cases for Netskope are:
- CASB ( cloud access security brokers)
- SWG (secure web gateway)
- Private Access
- Public Cloud Security
Netskope is used to steer traffic to and from all relevant cloud storage applications like Google drive. The Netskope client:
- Enables security teams to identify and prevent exfiltration of sensitive data in the cloud applications.
- Allows visibility into SaaS application usage.
- Addresses risks associated with common data exfiltration method (ie uploads to cloud storage).
Instructions for installing BloxOneTM Threat Defense Client
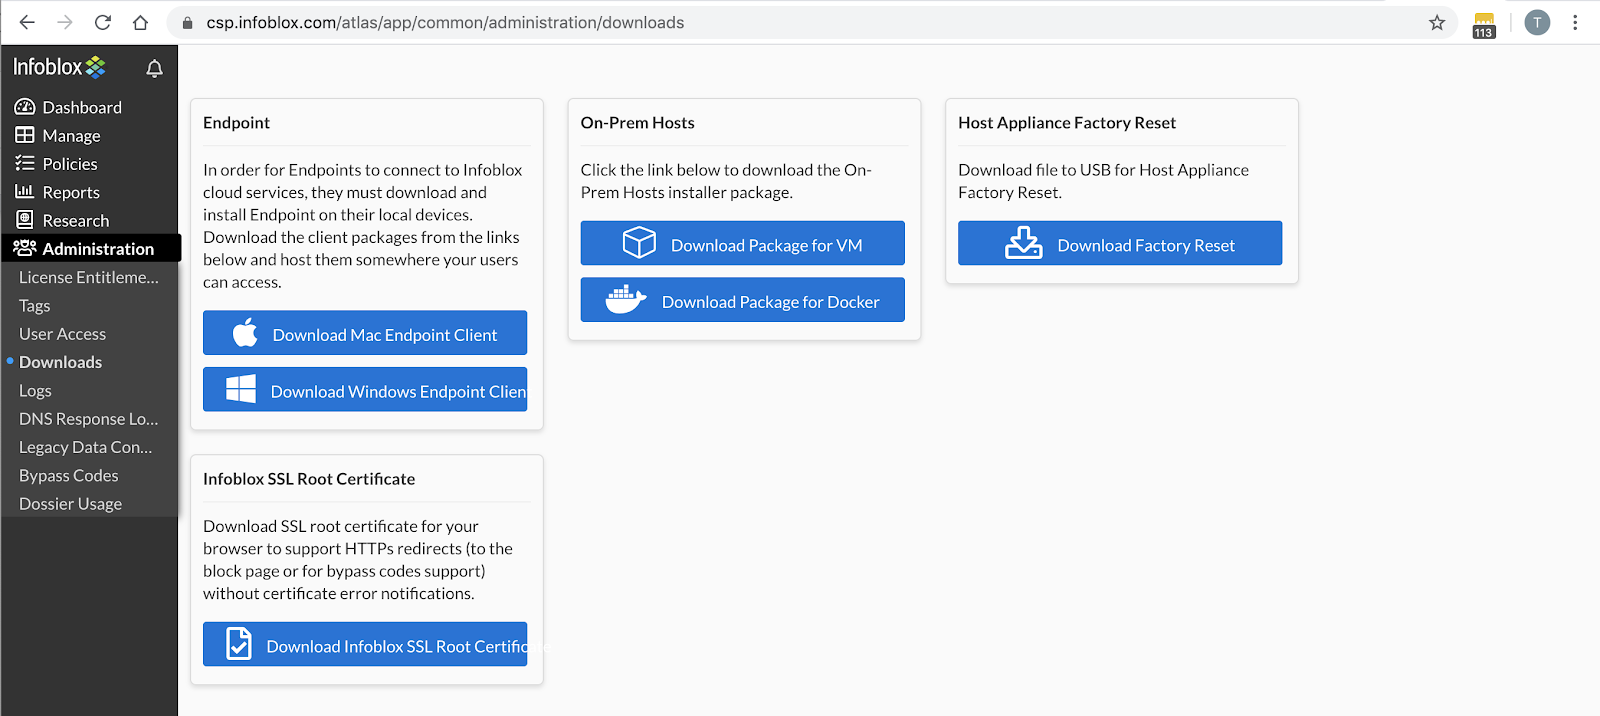
- Log into www.csp.infoblox.com.

2. Navigate to Administration → Downloads.

3. In the Endpoint section, click on the appropriate button to download the compressed file for the endpoint client.
4. Extract the ZIP file to the folder that you created earlier, and then properly extract the ZIP file.
NOTE: Ensure that you extract all the files from the ZIP archive before starting the installation process. Otherwise, the installation might fail if there are any missing files. Go to the folder that contains all the extracted files and click the ActiveTrustEndpoint.pkg file if you are an Apple Mac user, or click the ActiveTrustEndpoint.msi file if you are a Microsoft Windows user.
5. The BloxOneTM Endpoint Setup Wizard appears when you run the installer program. Click Next.
6. Enter the destination folder in which you want to save the BloxOneTM Endpoint application. Click Next.
7. Click Install in the wizard to install BloxOneTM Endpoint.
8. Click Finish when the installation completes.
After the endpoint software is installed, the successful status will show up as one of the following:
![]()
Protected
Endpoint is running properly, and your device is fully protected against malicious attacks by Infoblox® Endpoint.
This icon is displayed for the following states:
– DNS queries are encrypted and are being sent to the BloxOneTM DNS Server.
– DNS queries are being sent to the BloxOneTM DNS Server.
![]()
Protected
If your device is connected to the corporate network, it is protected against malicious attacks by the corporate network.
This icon is displayed for the following states:
– When the endpoint is connected to the corporate network, the DNS queries are being sent to the corporate DNS servers.
– If you have configured an on-prem DNS forwarding proxy, the DNS queries are being sent to the proxy
Data Flow:
- From the Netskope Administrative Console, cloud applications are selected for protection by the Netskope administrator.
- This configuration information is pushed down to the Netskope client.
- When the user makes a request to a resource from the browser, the Netskope client examines the request to determine if it will handle the request.
- Otherwise, the DNS request will be handled by the BloxOneTM Threat Defense client. Therefore, your users will be protected by BloxOneTM Threat Defense Cloud.
BloxOneTM Threat Defense capabilities:
- Secure existing networks and digital transformations like SD-WAN, IoT and cloud leveraging existing infrastructure
- Prevent data exfiltration techniques with analytics and machine learning including DNS-based data exfiltration, DGA, DNSMessenger, and fast-flux attacks
- Detect and block exploits, phishing, ransomware and other modern malware
- Identify malware propagation and lateral movement through east-west traffic monitoring
- Restrict user access to certain web content categories and track activity
- Protect your brand with Lookalike Domain Monitoring for your most valuable internet properties
- Reduce response times through automated blocking and sharing of incident details to 3rd party ecosystem solutions through public APIs or on-premises integrations
- Accelerate investigations 3X and streamline threat hunting
- Enhance visibility: Get precise visibility and rich network context including IPAM and asset metadata about your network devices for better correlation of eventsControl the risks of rising DoH use: block DoH (DNS over HTTPS) domain access and gracefully revert DoH requests to existing,trusted DNS


