SLAAC in Action
Let’s take a look at the auto-addressing functionality built in to IPv6: Stateless Address Autoconfiguration–or SLAAC.
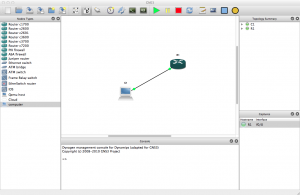
Using GNS3 (covered in the last post), create a simple topology of one router and one host connected via Fast Ethernet:
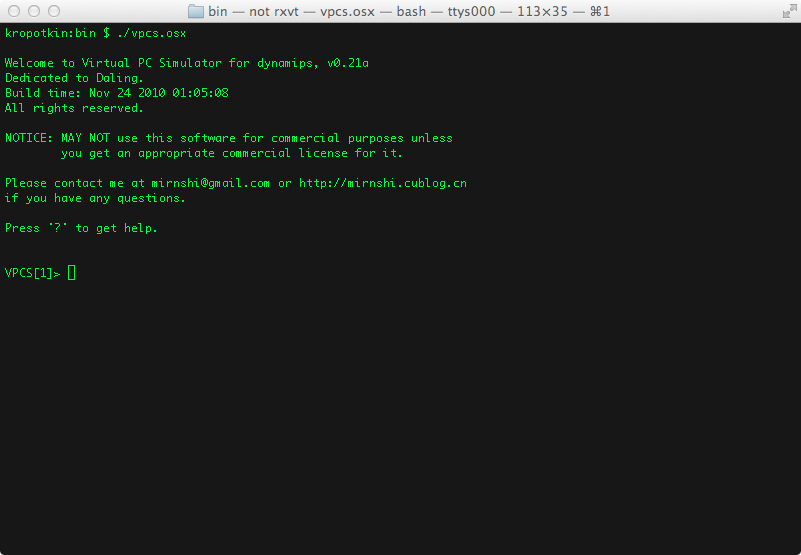
Make sure QEMU or VPCS is running:
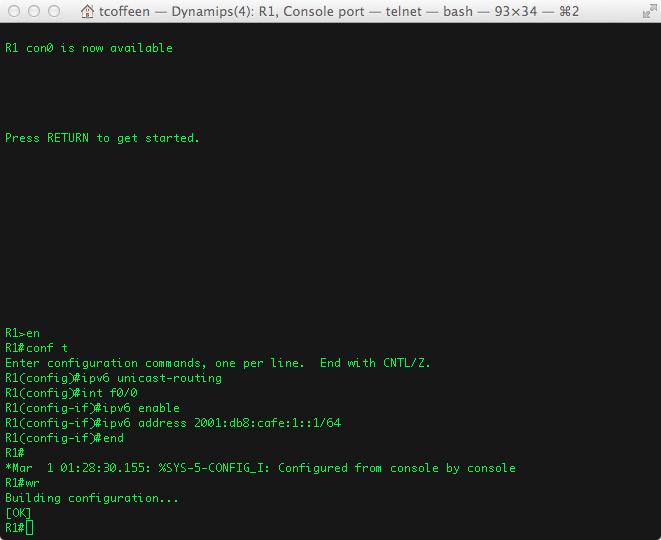
Start the router then enable IPv6 unicast routing globally. On the Fast Ethernet interface the host is connected to, enable IPv6 and add an IPv6 address from the global unicast range (2000::/3). The particular prefix is unimportant–just make sure you use a /64 prefix so that SLAAC will function properly.
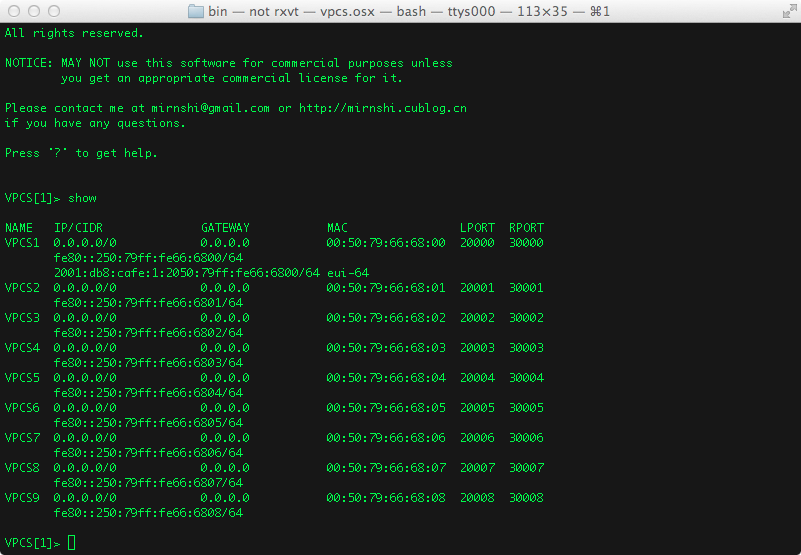
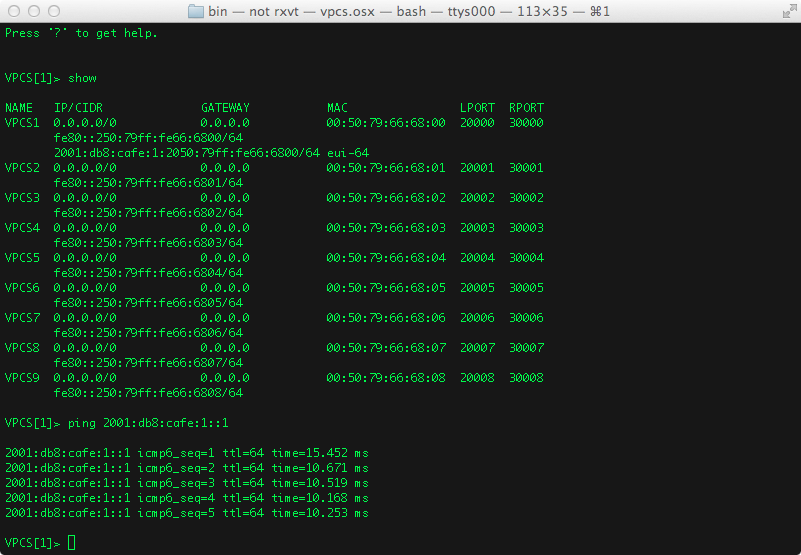
On the QEMU or VPCS host make sure ‘ip auto’ is configured (it should be by default) then run the ‘show’ command. Assuming everything worked you should see a SLAAC-assigned address beginning with the global unicast prefix you assigned on the router interface:
Now from the host, ping the router interface address you assigned:
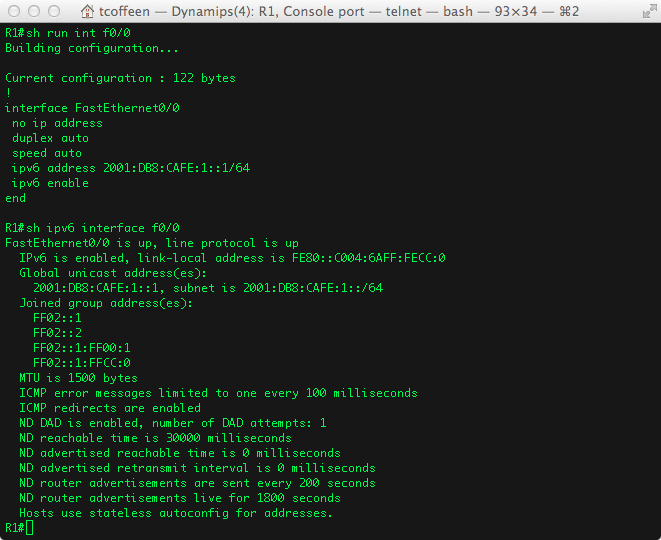
Finally, let’s run a few verification commands on the router:
Recall that the auto-addressing functionality of SLAAC is included entirely within the IPv6 protocol standard. One should thus expect the same behavior observed in this configuration example regardless of the particular hardware and software used for the router and host.
For the next post in this series we’ll use the packet capture tool Wireshark to look at the SLAAC process in more detail.


