Reprinted with permission by original author and Infoblox Community Member Chris Greene
In a previous post I described how to resolve an Infoblox managed IP address. In this post I’m going to show how to create an Infoblox host record. In the past we used the Infoblox plug-in to perform DNS management, but lately we’ve been replacing the functionality provided by the Infoblox plug-in with the HTTP-REST plug-in. We did this for the following reasons:
- The Infoblox plug-in comes with workflows that have specific requirements that we couldn’t always meet.
- The workflows also have additional functionality, but it wasn’t needed in our environment.
- The Infoblox plug-in has to be compatible with the version of the Infoblox NIOS and vRO/vCO that you’re using. We currently have a compatibility issue that would only be resolved by upgrading the Infoblox NIOS, but our team doesn’t manage it and it’s not scheduled to be upgraded for months. By using the HTTP-REST plug-in we eliminate this issue completely.
- The HTTP-REST plug-in comes with vRO/vCO so there is nothing additional to install.
- It gives our team more exposure to consuming services via REST APIs.
- It gives our team more control in the way we consume Infoblox services. We were using an older version of the Infolbox plug-in so they may have added additional functionality, but now we can perform name resolution and create various types of name records.
I’m not going into as much detail as I did in Resolving an Infoblox IP Address with vRealize Orchestrator’s HTTP-REST Plug-in so if you get stuck, please see that post.
Add a REST host
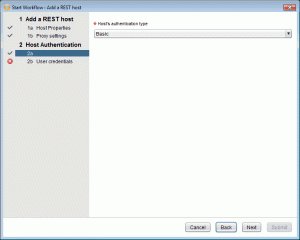
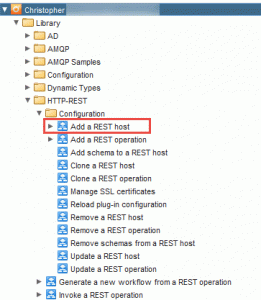
In the vRO client, go to Library > HTTP-REST > Configuration and run the “Add a REST host” workflow
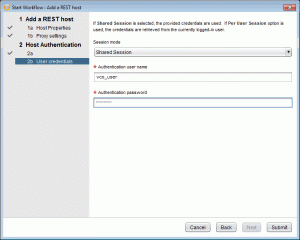
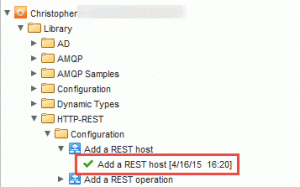
If successful, you will now see a green check next to the workflow run:
Add a REST Operation
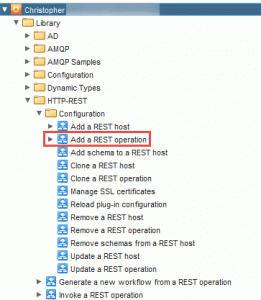
In the vRO client, go to Library > HTTP-REST > Configuration and run the “Add a REST Operation” workflow.
If we were to use the curl command to make the API call to create the host record, it would look like this:
curl -k -u vco_user:superpass -H “Content-Type: application/json” \
-X POST https://10.62.1.10/wapi/v1.2.1/record:host -d \
‘{“ipv4addrs”:[{“ipv4addr”:”10.62.1.20″}],”name”:”test.vmware.local”}’
To do this in vRO, we need to specify the following:
- Template URL: /record:host
- HTTP method: POST
- Content type: application/json
Notice how the template URL value is what is appended to the HTTP-REST host ofhttps://10.62.1.10/wapi/v1.2.1
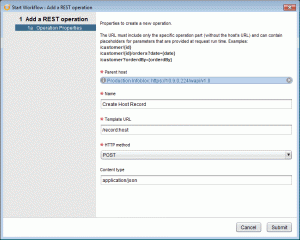
If successful, you will now see a green check next to the workflow run and under the variables tab you can see the specified values:

Generate a new workflow based on the newly created REST operation
Now that we have our REST operation defined, we need to create a vRO workflow that we can use.
In the vRO client, go to Library > HTTP-REST and run the “Generate a new workflow from a REST operation” worfklow.
Under Operation select “Not set” and choose the “Create Host Record” operation:
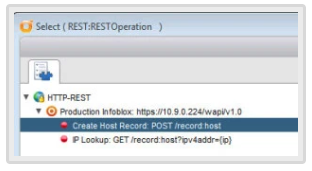
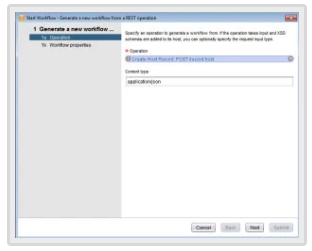
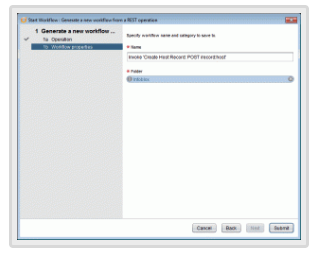
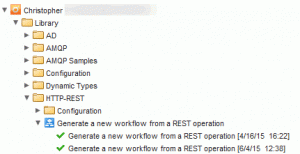
Again, make you sure you see the green check next to the workflow run so that you know it was sucessful:
Modifying the workflow
Now we have a workflow that we can run manually or call from other systems such as vCloud Director or vRealize Automation, but first we need to modify the workflow slightly so that we can add some additional functionality such as error handling.
When using the curl command the string that comes after -d is the data that we are sending to the Infoblox server. In this case it’s the string ‘{“ipv4addrs”:[{“ipv4addr”:”10.62.1.20″}],”name”:”test.vmware.local”}’:
curl -k -u vco_user:superpass -H “Content-Type: application/json” \
-X POST https://10.62.1.10/wapi/v1.2.1/record:host -d \
‘{“ipv4addrs”:[{“ipv4addr”:”10.62.1.20″}],”name”:”test.vmware.local”}’
If we look at the Inputs tab of our workflow we will see that it takes a single variable named content:
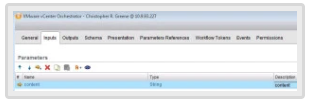
If we were to run the workflow manually, it would need to look like this:

In our environment this workflow is actually called from another workflow that builds the content string from values extracted out of a vCloud Director VM. Depending on your use case, you may need to modify this workflow so that it takes a hostname/IP address and then builds the content string.
Let’s take a look at the scripting section of the workflow. Edit the workflow and go to:
- Schema tab
- Scripting object
- Scripting tab
- Code we added
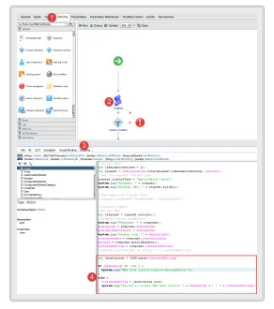
In section 4 I do the following:
Convert the value that the Infoblox sends back after creating the host record into a JSON string.
var jsonContent = JSON.parse(contentAsString)
If the value of statusCode 201, log a message stating that DNS record was created successfully. Seehttp://www.w3.org/Protocols/rfc2616/rfc2616-sec10.html for the definition of the HTML code 201.
If the value of statusCode does not equal 201, extract the returned text from the JSON value jsonContent and log a message stating that there was an error creating the DNS record.
contentAsString = jsonContent.text;
System.log(“Failed to create DNS host record: ” + statusCode + ” : ” + contentAsString);
The variables statusCode and contentAsString are stored in the scripting elements output:

as well as the workflows output:
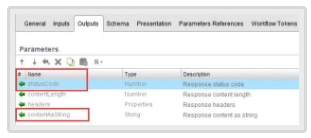
The calling workflow then says that if the statusCode is 201, everything is okay. If not, it uses the value of contentAsString to inform the user what went wrong.
The input, outputs and scripting sections can differ in your situation. What I’ve done is just what was requested of me. When you work as part of a team that develops vRO workflows, someone else may be developing a workflow that calls your workflow and they say, “I want to send you x, y & z and I want you to return a, b, & c to me.”
Use cases
I’d like to cover some of these use cases in future posts, but here are some ways that I think this workflow could be used:
- Running the workflow manually. If this was done, I’d probably edit the inputs so that it would take a hostname and IP address instead of the content string.
- Take advantage of the vCenter/vRO integration where you could right-click a VM in vCenter and run a workflow that would extract the hostname/IP from the VM and create a DNS entry. You could also have a similar workflow to create other types of DNS records such as CNAMEs (aliases).
- Add a custom action to a vRealize Automation VM so that you could manage the VM’s DNS records.
- Use vRealize Automation’s Advanced Services to create a service that would allow the management of DNS records.


