Introduction
BloxOne® DDI is the industry’s first cloud-managed solution that enables you to centrally control and automate DNS, DHCP and IP address management (DDI) for hybrid and multi-cloud networks. Built on the cloud-native BloxOne Platform and available as a SaaS service, BloxOne DDI eliminates the complexity, bottlenecks and scalability limitations of traditional DDI implementations.
OpenStack® boosts business agility, availability, and efficiency by providing a platform with on-demand, resource pooling, self-service, highly elastic, and measured services capabilities. If this sounds like cloud computing, that’s because it is. OpenStack is basically your key to building your own cloud infrastructure.
Why would you want to do that? Can’t you just subscribe to Amazon Web Services (AWS), Microsoft Azure, IBM Cloud, Salesforce, Google or some other cloud services provider? You certainly can. However, if you are not comfortable entrusting sensitive data to a third party and you have tons of it, then an on-premise or private cloud infrastructure would be the better choice. By building your own cloud in your own data center, you will have more control of your data.
Infoblox supports all versions of OpenStack for deploying on-prem hosts using OpenStack with KVM hypervisor. This article describes installing the Infoblox BloxOne on-premise host on KVM-based OpenStack with easy deployment steps.
Prerequisites
Before deploying an on-prem host and enabling BloxOne services, ensure that you prepare the deployment environment according to the requirements for the supported platforms and open all necessary ports for unrestricted outbound access. For details, see BloxOne Connectivity and Service Requirements.
Deploying On-Prem Host via OpenStack Dashboard
- Log into www.csp.infoblox.com.
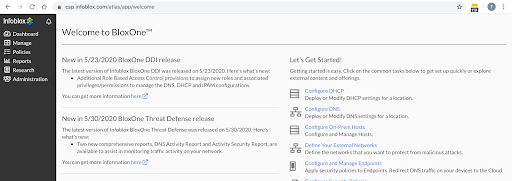
- Navigate to Administration → Downloads.
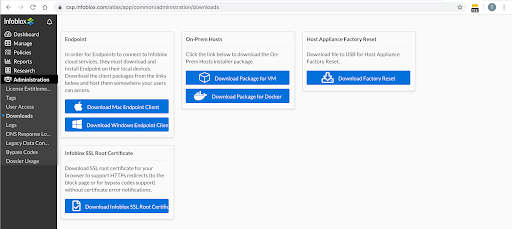
- In the On-Prem Hosts section, select Download Package for KVM/QCOW (60 GB Disk) for the regular image or Download Package for KVM/QCOW (750 GB Disk) for the high-capacity image .
Open a new browser window and launch the OpenStack dashboard and Log in to the dashboard using a project user credentials.
- Select the project from the drop-down menu at the top left.
- On the Project tab, open the Compute tab and click Images category.
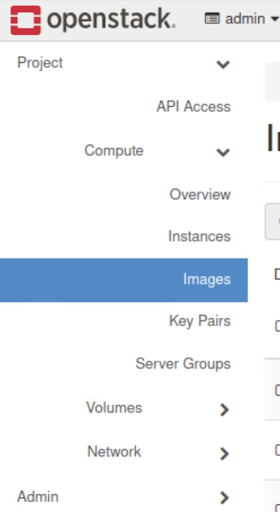
- Click Create Image, and the Create An Image dialog appears.

- Complete the following image details, as shown in the screenshot:
- Image Name: Give your image a unique name.
- Image Source: Select File and browse to the location to which you downloaded the QCOW2 image from the Cloud Services Portal.
- Format: Choose QCOW2-QEMU Emulator from the drop-down menu
For more information about image details, refer to the OpenStack documentation.
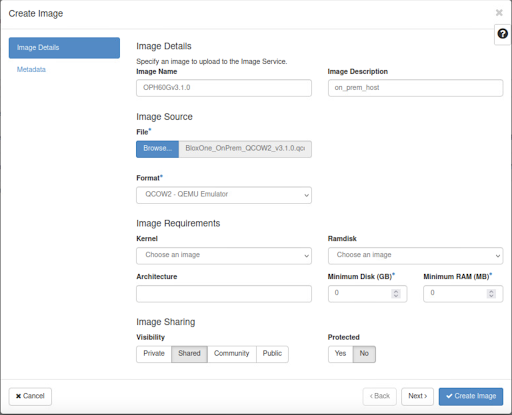
- Click Create Image.
Once the image is uploaded, follow the steps in order to Launch an Instance:
- Open the Project tab → Compute tab, and click Images.
- Choose the image you just created, and click Launch.

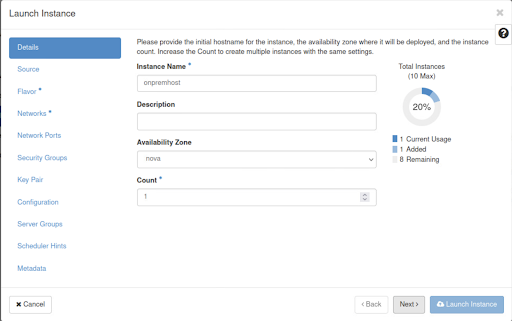
- In the Launch Instance dialog, specify:
- Instance Name: Specify a name for the on-prem host.
- Availability Zone: By default, set this value to the availability zone given by the cloud provider (for example, us-west or apac-south and in some cases, it could be nova).
- Count: Enter 1 and click next.
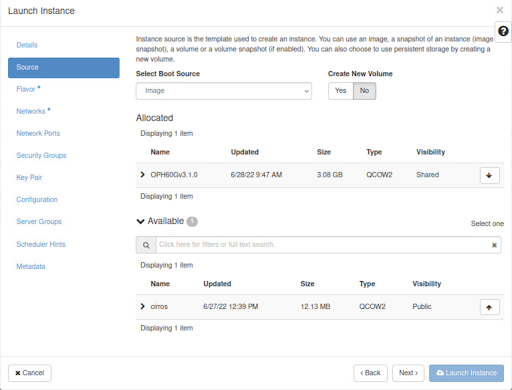
- Select boot source: image.
- Create New volumes: No.
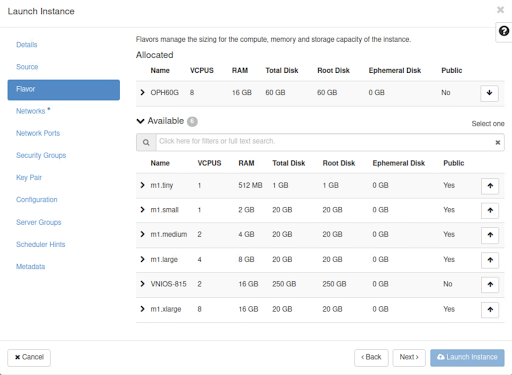
- Flavor: Choose m1.large for the regular image (in this case we have created a new flavor OPH60G)
Note: The screenshot below shows we have created a custom flavor OPH60G with 8 vCPUs and Root Disk 60 GB.
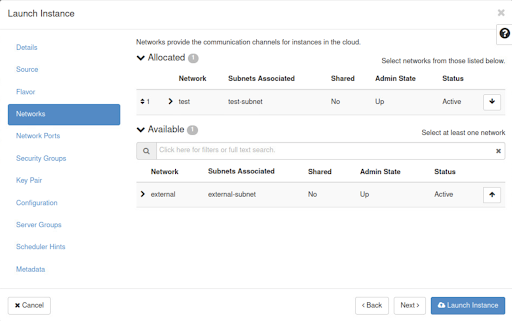
- Networks: Add interfaces by selecting applicable networks from the list. You can choose multiple networks for multiple interfaces.
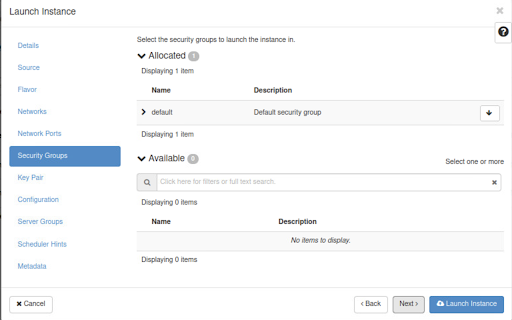
- Under Security Groups, select default to use the default security groups, or select permissive to open a few default ports. For more information, please refer to the Security Groups Documentation.
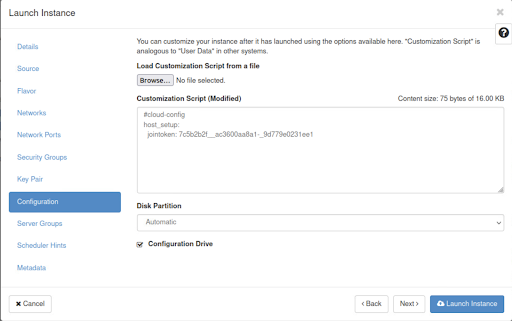
- Configuration: Enter the script in the Customization Script field, or you can upload a file that contains scripts such as the join token for a cluster account, as follows. To obtain a join token, see Creating Join Tokens.
#This is a YAML code snippet

#cloud-config

host_setup:

jointoken: your_BloxOne_join_token
Optional, to specify whether to do disk partitioning manually or automatically. Check the Configuration Drive checkbox to write metadata to a configuration drive if cloud_init is not available.
Click Launch to launch the instance.
The on-prem host instance will be displayed on the Instance page. Optionally, click Console at the top of the Instance page to view the instance’s details in the console.
The on-prem host has now successfully deployed.
Note: Connecting the on-prem host and the Cloud Services Portal may take a couple of minutes.
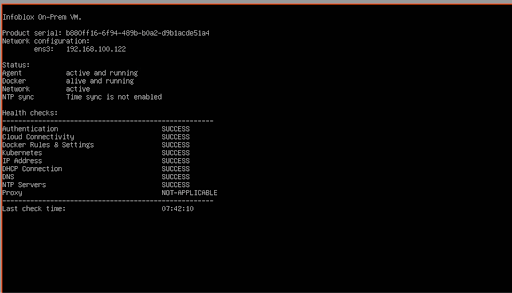
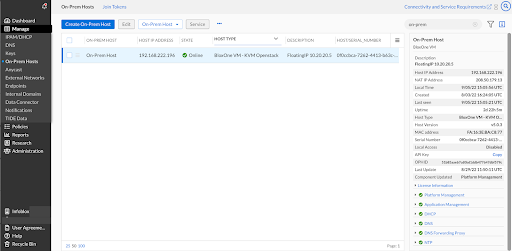
To check the current status of the on-prem host, navigate to Manage → On-Prem Hosts in the Infoblox Cloud Services Portal. For more information about the host status, see Viewing On-Prem Host Status.
Conclusion
BloxOne DDI solution has been designed to run on all major virtualization solutions available on the market, including VMware, Microsoft Hyper-V and OpenStack. The solution is primarily used for protecting DNS and customers from malware as it is one of the first layers that comes into play when going to a website or using email.


