Author: Mrigank Gupta
TERRAFORM: Import Multiple Resources to Your Network Infrastructure With a Single Command
Terraform is a term usually seen in the context of science fiction. When we translate it to its literal meaning, terraform means to transform a planet to resemble the earth, especially so that it can support human life. But in our context, Terraform is an open-source infrastructure-as-code software tool created by HashiCorp. It lets you define both cloud and on-prem resources in human-readable configuration files that you can version, reuse, and share. You can then use a consistent workflow to provision and manage your infrastructure throughout its lifecycle.Users define and provide data center infrastructure using a declarative configuration language known as HashiCorp Configuration Language (HCL), or optionally JSON.
Terraform manages external resources (such as public cloud infrastructure, private cloud infrastructure, network appliances, software as a service, and platform as a service) with “providers.” HashiCorp maintains an extensive list of official providers and can also integrate with community-developed providers. Users can interact with Terraform providers by declaring resources or calling data sources. Rather than using imperative commands to provision resources, Terraform uses declarative configuration to describe the desired final state. Once a user invokes Terraform on a given resource, Terraform will perform CRUD actions on the user’s behalf to accomplish the desired state. The infrastructure as code can be written as modules, promoting reusability and maintainability.
Terraforming and Infoblox NIOS DDI
While readers of this blog are likely to be very familiar with the capabilities of Infoblox NIOS DDI, let’s just do a quick recap. Infoblox NIOS is the world’s leading on-premises platform for automating DNS (Domain Name System), DHCP (Dynamic Host Configuration Protocol) and IPAM (IP address management)—collectively known as DDI. The platform is highly regarded among networking professionals for its ability to simplify complex, dynamic network services for enterprises of any size.
Provisioning infrastructure through point-and-click GUIs or custom scripts is slow, error-prone, inefficient and doesn’t scale. But with HashiCorp’s Terraform, provisioning and security can be automated with declarative infrastructure and policy as code. Infrastructure and policies are codified, shared, versioned and executed within a workflow that is consistent across all infrastructure.
The benefits of using Terraform as your Infrastructure-as-a-code tool are:
- Orchestration, not merely configuration
- Immutable infrastructure
- Declarative, not procedural code
- Client-only architecture
Terraform-Infoblox Integration
A provider plugin for Terraform that makes it possible to manage Infoblox NIOS (Network Identity Operating System) resources using Terraform infrastructure-as-code solutions is now available. The plugin enables lifecycle management of Infoblox NIOS DDI resources.The Infoblox IPAM Plugin for Terraform interfaces with Infoblox vNIOS through REST API to provide IP Address Management and DNS Services. Instead of manually provisioning IP addresses and DNS records for network devices and interfaces in your infrastructure, the Infoblox IPAM Plugin for Terraform automates IPAM processes. The latest version of Infoblox provider is v2.4.1.
Available Resources
Currently, Terraform resources can be broadly divided into two categories: Terraform Resources and Data Sources. A Terraform resource constitutes a resource block that describes one or more NIOS Grid objects, such as a network container. A Terraform Data Source allows data to be fetched or computed for use elsewhere in the Terraform configuration. With Data Sources, Terraform configuration is built on information defined outside of Terraform or defined by a separate Terraform configuration.
To perform a fetch, create, read, update or delete operation on a NIOS object, you must define the appropriate resource block in the Terraform configuration (.tf) file.The following topics detail the resources and data sources supported by Infoblox IPAM Plug-In version 2.4.1 for Terraform and include appropriate examples of blocks that must be defined in the configuration file. For more details on Terraform available resources and Data Sources visit Terraform Provider Infoblox GitHub.
What is Terraform Import?
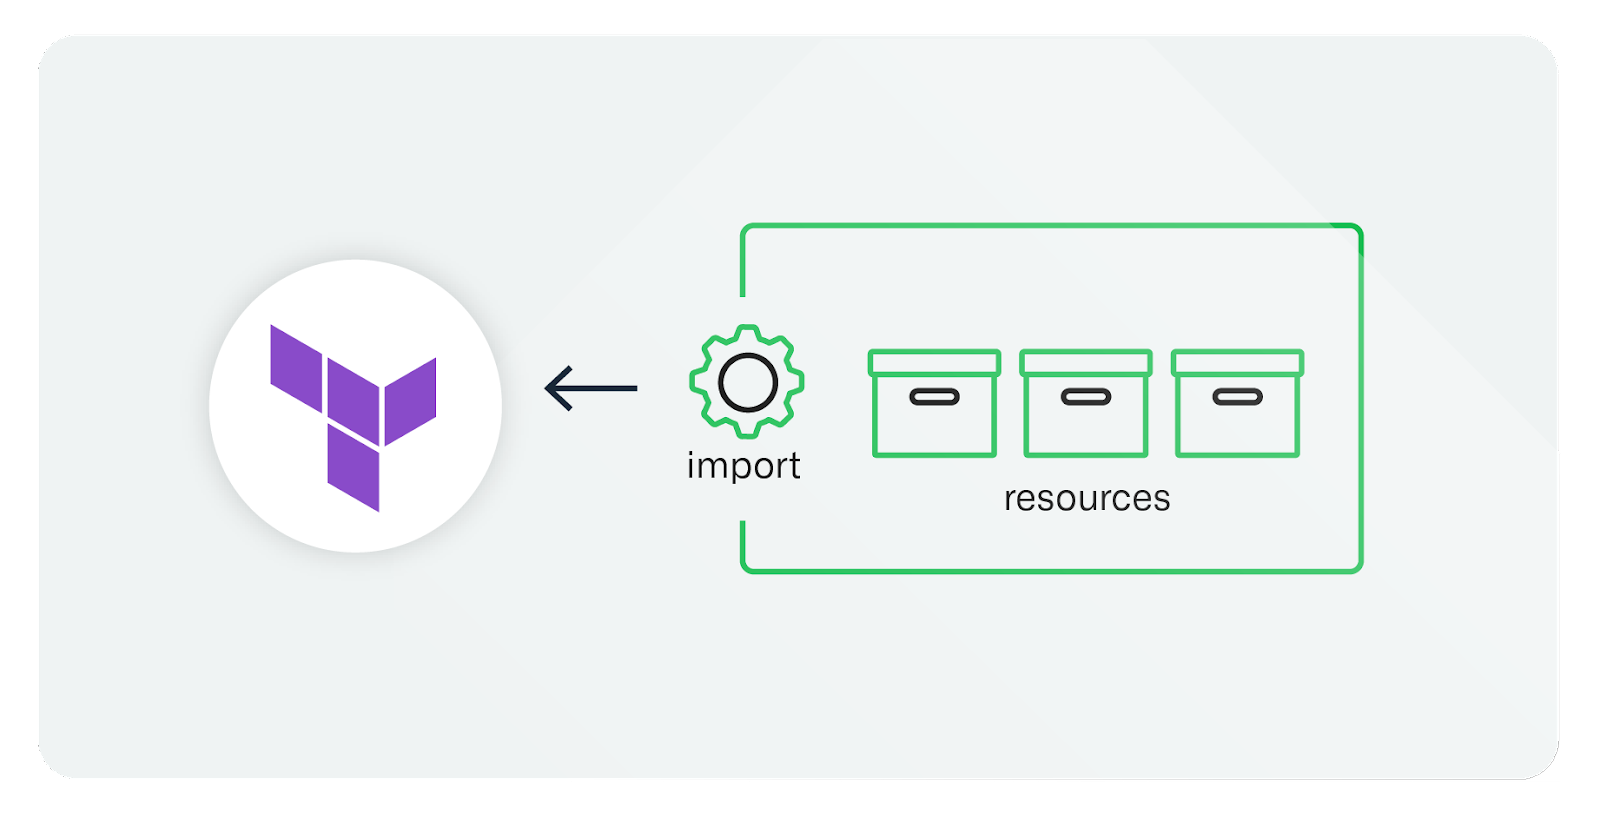
You can import pre-existing cloud or NIOS resources into your Terraform state by using the Terraform Import command. It allows you to use Infrastructure as Code to consistently manage all of your resources by bridging the gap between your Terraform configurations and your present resources.
Why Import?
Since Terraform is a relatively new technology, it may take some time and effort to implement in order to manage an organization’s cloud resources. Teams are utilizing cloud infrastructure directly via their individual web consoles due to a shortage of human resources and the challenging learning curve associated with efficiently utilizing Terraform.
Any IaC technique, for that matter—CloudFormation, Azure ARM templates, Pulumi, etc.—requires some training and hands-on experience managing real-time scenarios. When dealing with ideas like states and remote backends, things associated with Terraform processes can get difficult. In the worst situation, the terraform.tfstate file can disappear. Fortunately, you may reconstruct it by using the import functionality.
Terraform Import makes it easier to bring pre-existing cloud resources under Terraform administration. In order to apply updates to the same set of infrastructure via IaC in the future, the Terraform CLI command import is used to read real-world infrastructure and update the state.
Configuration Consistency: Terraform Import ensures that all your resources, regardless of origin, are managed and tracked consistently. This tracking approach helps avoid manual configuration drift and maintains a single source of truth for your infrastructure.
Incremental Adoption: Terraform Import allows you to adopt Terraform for existing resources incrementally. You don’t need to start from scratch, and you can gradually manage your infrastructure with Terraform without disruption.
Collaboration and Version Control: By importing resources, you can collaborate with your team using a shared version-controlled Terraform state. In this way you’ll enhance team collaboration and ensure everyone works with the same infrastructure definitions.
Importing Existing NIOS Objects to Terraform
Now let’s discuss the most exciting feature of this provider, i.e. Importing Existing NIOS Objects to Terraform. Terraform has the capability to import existing infrastructure. This capability allows users to take resources created by some other means and bring them under Terraform management. Infoblox IPAM Plug-in for Terraform allows you to import resources (NIOS objects) that already exist in NIOS. For the list of supported resources, see Resources Supported by Infoblox IPAM Plug-In for Terraform.
The import operation includes the following steps:
- Creating a Terraform configuration file for the resource you want to import.
- Obtaining a reference for the NIOS object you want to import.
- Importing the resource using the obtained reference.
To import a resource to Terraform, do the following:
- Create a Terraform configuration (.tf) file for the resource you want to import. You must include all attributes and their values configured in NIOS. For example, the following resource block is for an object with name a_rec_1_imported and the attributes defined in NIOS: resource “infoblox_a_record” “a_rec_1_imported” { fqdn = “rec-a-1.imported.test.com” ip_addr = “192.168.1.2” ttl = 10 comment = “A-record to be imported” ext_attrs = jsonencode({ “Location” = “New office” }) }
- Based on the type of object that you want to import, obtain a reference for the NIOS object as follows:
- To import a resource other than a host record, use an appropriate tool to get a reference for the NIOS object. The following example shows a cURL command that can be run in a fully trusted environment to get a reference for an A record object in NIOS:
curl -k -u username:password https://172.17.0.2:443/wapi/v2.11.1/record:a - To import a host record, which is represented by the infoblox_ip_allocation and infoblox_ip_association resources in Terraform, add the Terraform Internal ID extensible attribute with a randomly generated value in the form of a UUID to the record.
– For steps for adding the extensible attribute in NIOS, refer to the Infoblox NIOS Documentation.
– To generate a UUID, you may use the command-line tool uuid for Linux-based systems or any other appropriate tool.Note that the Terraform Internal ID extensible attribute does not show in the terraform.tfstate file. Use it to create or import the infoblox_ip_allocation and infoblox_ip_association resources. Do not add it in a resource block with other extensible attributes.
- To import a resource other than a host record, use an appropriate tool to get a reference for the NIOS object. The following example shows a cURL command that can be run in a fully trusted environment to get a reference for an A record object in NIOS:
- Run the import command as follows:
- For a resource other than a host record, use the format:
terraform import RESOURCE_TYPE.RESOURCE_NAME RESOURCE_REFERENCE
Example:
terraform import infoblox_a_record.a_rec_1_imported record:a/ZG5zLmJpbmRfYSQuX2RlZmF1bHQub3JnLmV4YW1wbGUsc3RhdGljMSwxLjIuMy40:rec-a-1.imported.test.com/default - For a host record, use the format:
terraform import RESOURCE_TYPE.RESOURCE_NAME TERRAFORM_INTERNAL_ID
Example:
terraform import infoblox_ip_allocation.ip_allocation_import 841d2d08-698a-11ed-8ebb-87cc2c60a394
- For a resource other than a host record, use the format:
Consider the following when using the import functionality:
- The import operation does not support fields with dynamically allocated values such as cidr, allocate_prefix_len, reserve_ip, and reserve_ipv6 that are supposed to be used only when creating Terraform resources. If configured in an object being imported, the import operation sets the values of such fields to null in the terraform.tfstate file.
- To remove the imported allocation and association resources from Terraform by using the terraform destroy command, you must do the following:
- Run the terraform apply command for Terraform, to identify the dependencies between the resources and to determine the order in which the resources must be managed.
- Run the terraform destroy command.
Conclusion/Summary
In this blog post, we explored the power of Terraform as an infrastructure as a code (IaC) tool for provisioning and managing cloud resources. At this point, you should have a basic idea about the new import feature of Terraform with the configuration-generating process for existing resources. With Terraform you can manage an entire infrastructure that has a bunch of Cloud services within a single configuration file. If you have any questions or would like to share your common practices, feel free to tell us by leaving a comment below!
With this new Terraform Import feature, you can import existing or manually created resources into a Terraform configuration file without writing any Terraform configuration scripts manually, and also you can import multiple resources with a single command and mention them in a single configuration file. Again, for more information on how you can use Terraform to optimize your Infoblox implementation, please consult the list of supported resources: Resources Supported by Infoblox IPAM Plug-In for Terraform.


